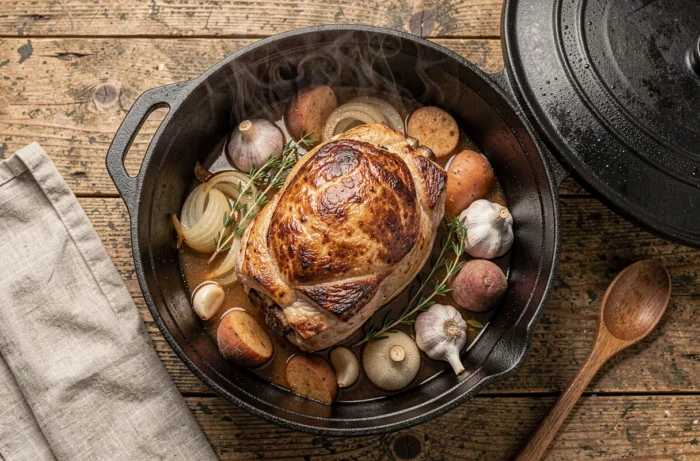
The pork roast in a Dutch oven remains a classic Sunday meal, but the difference between dry meat and a tender result lies in a few precise parameters. The Dutch oven creates a moist and enveloping cooking environment that protects the meat, provided you control the temperature, the choice of cut, and the moment you lift the lid.
Internal temperature of the pork roast: the thermometer changes everything
Most recipes indicate a cooking time in minutes per kilogram, but this approach ignores a crucial factor: each Dutch oven, each flame, and each cut reacts differently. The reliable benchmark is the internal temperature measured with a probe.
Food safety guidelines have revised their recommendations. For whole cuts of pork (roasts, chops), cooking to an internal temperature of 63 °C followed by a rest of 3 minutes is considered safe. This threshold allows for a slightly pink center, far from the “well-done” pork that many cooks still aim for out of habit.
As Les Coudes sur la Table advises, inserting the probe in the center of the cut, away from the bone and fat, gives an accurate reading. An instant-read thermometer is inexpensive and avoids the approximations that lead to overcooked meat.
For immunocompromised individuals, pregnant women, or those with liver conditions, Anses and the French Ministry of Health recommend more thorough cooking. The risk associated with the hepatitis E virus in certain pork products justifies this additional caution.
Choosing the cut and browning before cooking in a Dutch oven
The shoulder and the loin behave differently under a lid. The shoulder, with more intramuscular fat, is more forgiving of prolonged cooking. The loin, leaner, dries out quickly if the temperature gets too high or if the time exceeds what the cut can handle.
Why sear the meat before closing the Dutch oven
Browning is not just decorative. When the surface of the meat reaches sufficient heat in a well-heated Dutch oven, Maillard reactions produce aromatic compounds that enrich the final juice. Poorly dried meat before browning will release water and boil instead of caramelizing.
Patting the roast with paper towels before placing it in the oiled Dutch oven is a simple gesture that changes the outcome. All sides should be browned, including the ends. The browning that sticks to the bottom of the Dutch oven will serve as the base for the juice.
Adapting the size of the cut to the Dutch oven
A roast that is too small in a large Dutch oven loses its juices through evaporation. If it’s too large, it touches the sides and cooks unevenly. The cut should occupy the bottom without being compressed, with enough space for aromatics and a bit of liquid.
- For a standard family-sized Dutch oven, a roast between 800 g and 1.2 kg allows for even cooking over low heat
- The shoulder tolerates long cooking better due to its marbling, while the loin requires closer monitoring of the internal temperature
- A bed of sliced onions or root vegetables under the cut prevents direct contact with the bottom and enriches the cooking juice
Managing the lid and low heat for a tender pork roast
The lid of the Dutch oven is not a passive accessory. When closed, it traps steam and maintains a humidity level that prevents the meat from drying out. When open, it allows liquid to evaporate and concentrates the juice at the end of cooking. Alternating between the two phases yields a tender roast with reduced, flavorful juice.
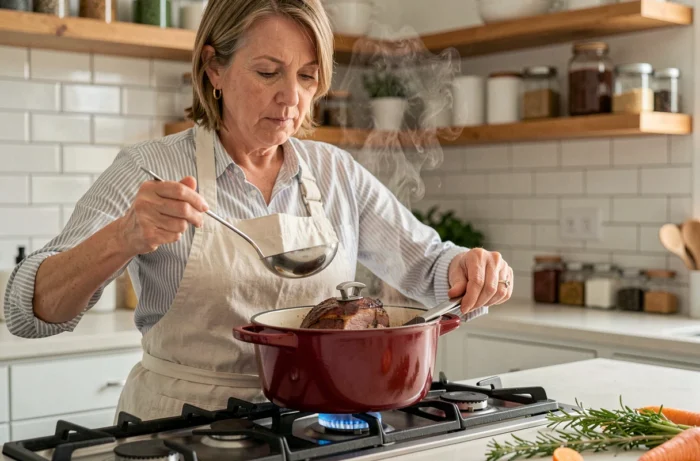
Cooking is done over low heat, with the lid closed, after browning. The added liquid (white wine, broth, vegetable stock) should not cover the meat. A few centimeters at the bottom is sufficient. The steam does the rest.
Lifting the lid every five minutes to check the cooking is counterproductive. Each opening drops the internal temperature of the Dutch oven and lengthens the necessary cooking time. It’s better to rely on the thermal probe and limit openings to one or two checks during cooking.
Resting the roast and building the cooking juice
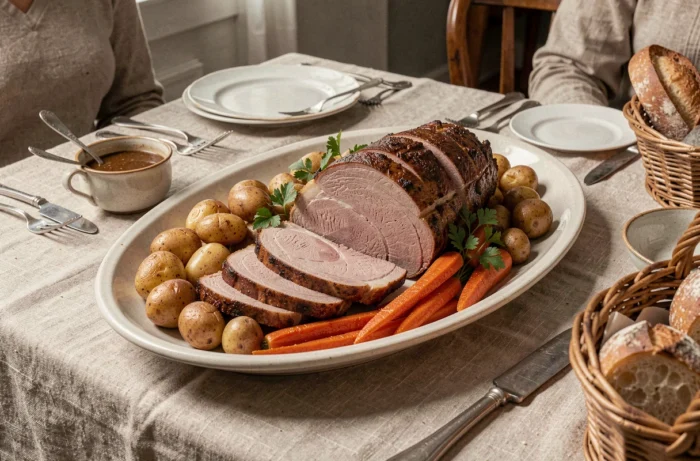
Taking the roast out of the Dutch oven and serving it immediately is a common mistake. Resting allows the muscle fibers to relax and the internal juices to redistribute within the meat. Cutting too early releases these juices onto the cutting board, not onto the plate.
Wrapping the cut in aluminum foil and letting it rest for about ten minutes while working on the juice is a good reflex. The resting does as much for tenderness as the cooking itself.
Deglazing and reducing the Dutch oven base
The base of the Dutch oven concentrates all the flavor: browned bits, rendered fat, infused aromatics. To turn it into a sauce, simply return the Dutch oven to high heat, add a splash of white wine or broth, and scrape the browned bits stuck to the bottom with a wooden spoon.
- Reducing the juice by half concentrates the flavors without needing to add flour or cornstarch
- A drizzle of mustard at the end, off the heat, adds acidity and lightly binds the sauce
- Straining the juice through a sieve gives a smooth result, but keeping the melted onion pieces adds body
A successful pork roast in a Dutch oven relies on three parameters that classic recipes underestimate: the measurement of the internal temperature rather than the timer, a good browning on dry meat, and sufficient resting before slicing. The juice is built in the Dutch oven throughout the cooking, not at the end with a stock cube. It’s these details that separate a decent dish from one that will have you going back for seconds.